Beginner's Guide to Henna Art (Mehndi)
Introduction to Mehndi
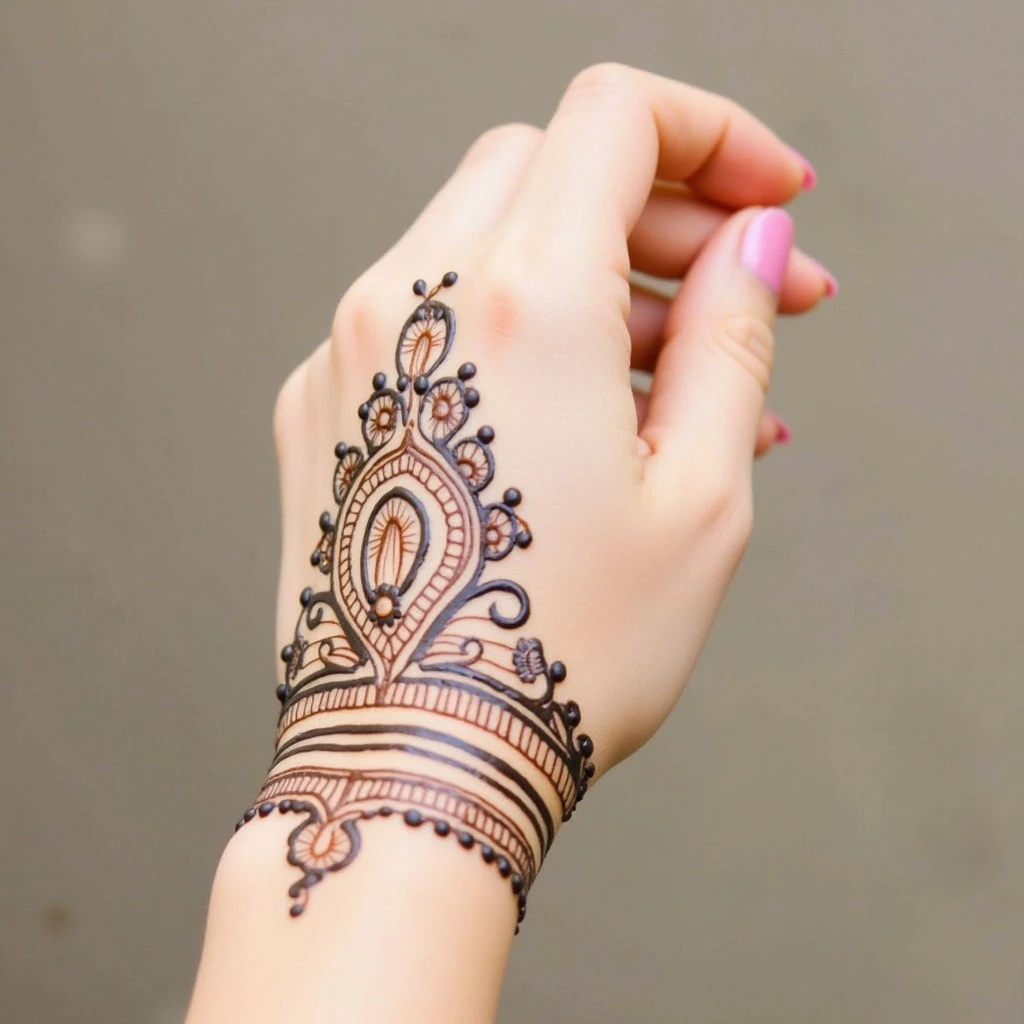
Henna art, also known as Mehndi, is an ancient tradition celebrated across cultures – particularly in South Asia and the Middle East. Creating intricate designs on hands and feet isn't just about aesthetics; it’s often tied to celebrations, blessings, and good fortune. But don’t be intimidated! You don't need years of practice to create a beautiful Mehndi design.
Getting Started: What You'll Need
* Henna cone or powder (ensure it's natural henna, not 'black henna' which can be harmful)
* Lemon juice and sugar (to create a paste if using powder)
* Toothpicks/application tools
* Design inspiration (browse online examples!)
Easy Mehndi Designs for Beginners
Simple Floral Border
A classic and forgiving design! Draw a simple line down your back hand, then add teardrop shapes along it to resemble petals. Fill in some of the 'petals' with dots or swirls.
Geometric Patterns
Lines, triangles, diamonds – these are surprisingly easy to create and look modern and chic. Use toothpicks for crisp lines.
Dot Mandala
Start with a central dot and radiate outward, adding concentric circles of dots. This is incredibly meditative and creates a lovely result.
Palm Leaf Motif
Draw the outline of palm leaves on your back hand. Then fill them with small repeating patterns like simple swirls or tiny dots.
Tips for Beginners
Practice on paper first!
Don’t be afraid to experiment – there are no mistakes, only learning opportunities.
Use light pressure when applying the henna paste.
