
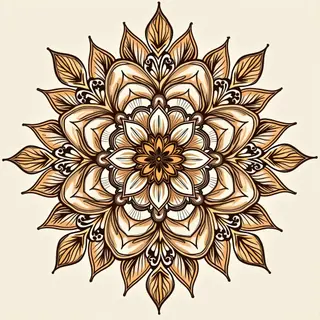

Easy Mehndi Designs for Beginners
Mehndi, also known as henna, is an ancient art form—beautiful and deeply rooted in culture. If you're just starting out with this intricate craft, learning with simple designs on your back hand is a fantastic approach! This guide will walk you through some easy patterns and helpful tips.
Why Start Simple?
Simple designs are ideal because they let you really concentrate on the technique of applying henna paste. It's less overwhelming, and you’ll use fewer materials too!
Easy Back Hand Mehndi Patterns
Here are a few basic patterns you can adapt to your own style:
Simple Dots & Circles
These are incredibly easy! Use a toothpick or cone tip to apply dots, then connect them with curved lines to form circles. Vary the sizes for a more dynamic look—it’s surprisingly effective.
Floral Borders
A simple floral border around your wrist is both beautiful and straightforward. Draw basic flower shapes (petals are easiest!) and repeat them along the edge of your hand.
Paisley Variations
The classic paisley shape can be simplified by rounding out its curves and using thicker lines. Arrange these in a symmetrical or asymmetrical pattern—experiment to see what you like best.
Leaf Patterns
Simple leaf shapes, either individual or connected to form vines, are another easy option. Try different sizes and orientations for visual interest; it's all about finding your own flair.
Tips for Beginners
Before you dive in, here are a few things to keep in mind:
- Practice on paper first. Get a feel for the movements before applying henna paste to your skin—it’s a great way to avoid mistakes later.
- Use good quality henna paste. The quality of your paste really does affect the color and how long it lasts. Look for natural, organic options.
- Don't rush! Take your time and focus on creating clean lines. It’s better to go slow than to have to correct errors later.
- Keep it symmetrical. Balance is key in any mehndi design—a little symmetry goes a long way.