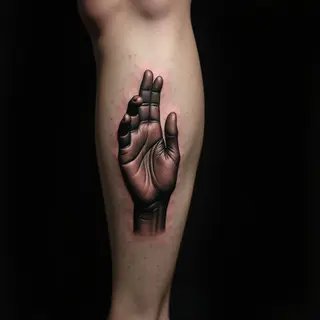
Micro Tattoo Design: A Procreate Workflow
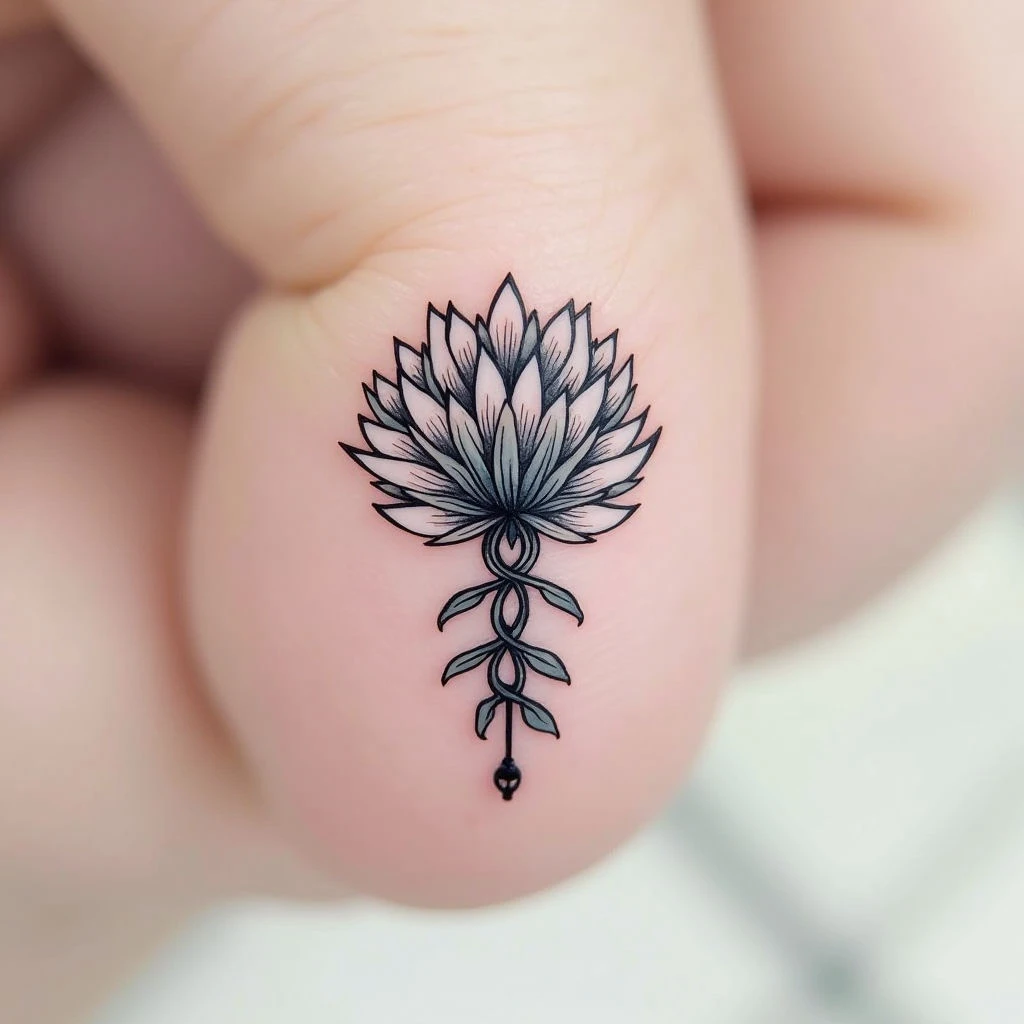
Creating detailed tattoo designs requires a real eye for scale—something I’ve come to understand deeply through my work specializing in micro tattoos. Procreate provides an excellent digital canvas for crafting these tiny works of art, and here's how I approach the process.
Essential Techniques
Let’s break down the key steps involved in designing micro tattoos using Procreate. It's about precision and a thoughtful approach.
Canvas Setup
First things first: start with a high-resolution canvas—at least 3000x3000 pixels. This ensures you have enough detail to work with when scaling the design down for application.
Layering is Key
Each element—line work, shading, highlights—should live on its own layer. This gives you incredible flexibility for editing and fine-tuning later. When I’m working on micro tattoos, I often create several versions of a single element before combining them to get just the right look.
Brush Selection
Experiment with different brushes to achieve the textures you want. A hard round brush is fantastic for clean, crisp lines; a soft airbrush works well for subtle shading. I frequently use custom brushes that mimic traditional tattoo tools—they add a unique touch.
Precision and Zoom
Procreate’s zoom capabilities are invaluable. I work at high magnification – typically 500% to 1000% – to ensure accuracy when drawing those tiny details. What looks sharp on your screen will translate directly to the skin, so clean, defined lines are essential.
Color Palettes
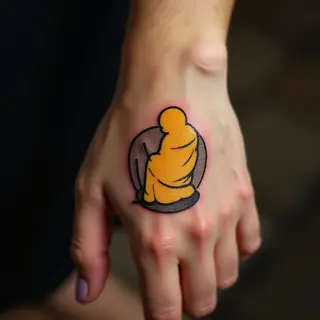
Keep color limitations in mind—traditional tattoo inks have a fairly restricted range. Procreate’s color palettes can help you experiment and stay within those boundaries.
Test Prints
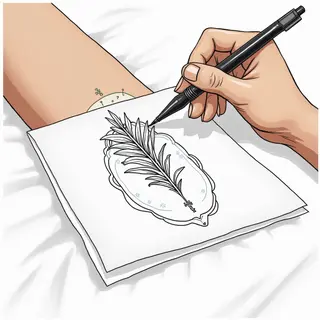
Before sending your design to an artist, create a few test prints at different sizes. This lets you see how the details hold up when scaled down.
Iteration
Embrace iteration! Micro tattoo designs almost always require several revisions and refinements before they're truly perfect. It’s part of the process.
