
Unlock Your Inner Artist: A Beginner's Guide to Henna Design
Henna design can seem daunting, but it doesn’t have to be. I’ve been creating henna patterns for years, and I know that with a few simple steps, anyone can create beautiful designs.
Getting Started: The Fundamentals
The core of almost every henna design lies in the dot and line. Before you dive into intricate patterns, spend some time practicing these basics on paper. Experiment with different thicknesses and spacing – it’s all about finding what looks good to *you*.
Building Blocks: Shapes
Once you're comfortable with dots and lines, start playing with basic shapes. Circles, teardrops, diamonds – these are your building blocks. Combining them opens up a world of possibilities.
Adding Depth: Layering
Layering is what gives henna designs that beautiful, dimensional look. Start with the larger elements first—the foundation of your design—and then add smaller details on top. Think about how shadows work; overlapping lines and dots create a sense of depth.
Finding Your Style: Inspiration
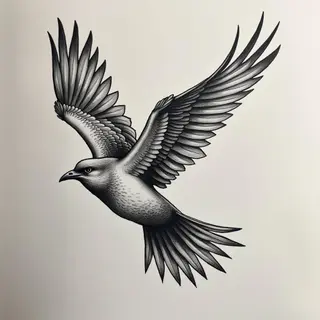
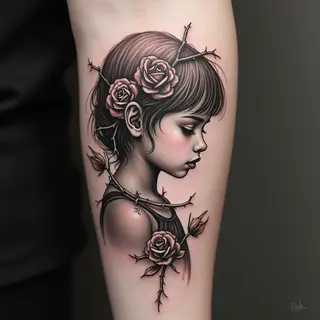
Look around! There’s a wealth of henna designs out there for inspiration. Classic motifs like roses, lotuses, paisleys, and geometric shapes are always beautiful—feel free to mix them up and make them your own.
The Key Ingredient: Practice
Like any art form, henna design takes practice. Don't get discouraged if your first attempts aren’t perfect—just keep creating! Start with simpler designs and gradually work your way up to more complex patterns.