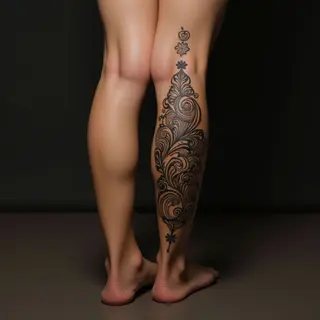
Creating Tattoo Designs in Procreate: A Guide
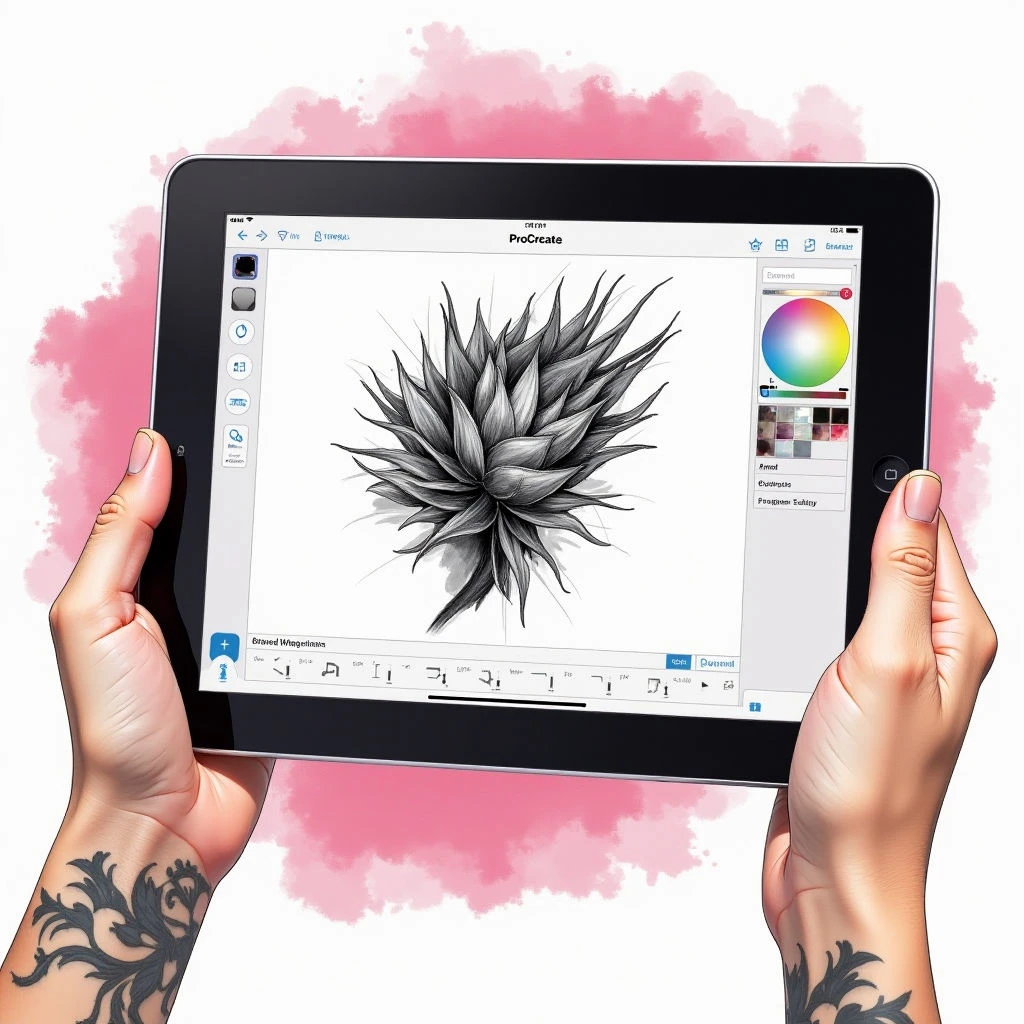
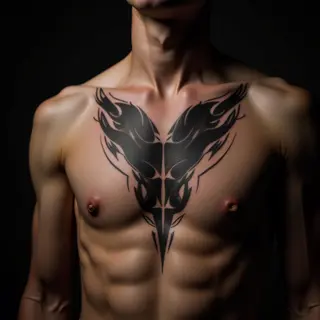
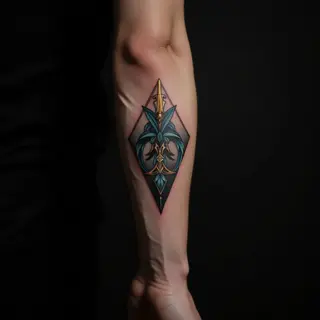
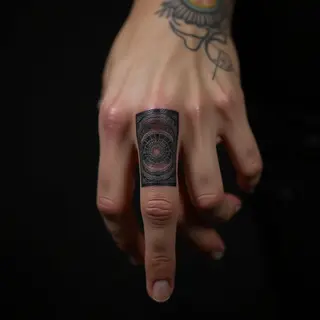
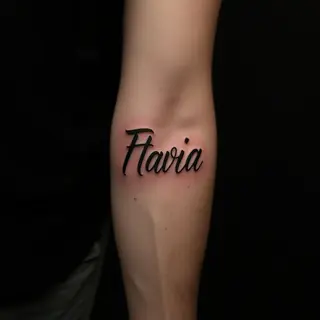
Procreate is a fantastic tool for tattoo artists—whether you're just starting out or already working professionally. Its easy-to-use design and powerful features let you play with different styles before permanently marking skin.
Getting Started: Canvas Setup
Let's begin by setting up your canvas. I recommend a square canvas—at least 3000x3000 pixels will give you plenty of room to work and ensure the design scales well. Don’t forget to use a high DPI setting for sharp, clean lines.
Sketching and Defining Lines
For initial sketches, I like using lighter brushes—the '6B Pencil' or 'Sketch' are great options. Don’t hesitate to experiment with different compositions and flows until you find something that feels right! Once you have a sketch you’re happy with, create clean outlines. The 'Ink Pen' brush (or similar) works well for this.
Consider line weight too—thicker lines can add contrast and definition to your design.
Adding Shading and Detail
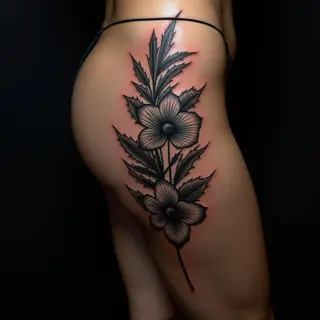
When it comes to shading, I often use the 'Soft Airbrush' for smooth gradients or the 'Technical Pen' for crisp lines. Layer your colors carefully to build depth and dimension—remember that tattoos look different on skin than they do on a screen.
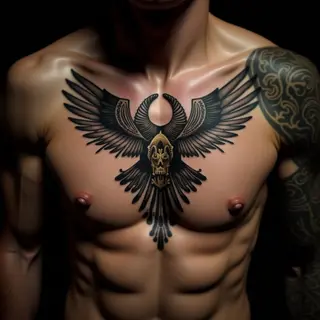
A little goes a long way! Tattoos age over time, so designs should be timeless and not overly complex.
Respectful Representation: LGBTQ+ Considerations
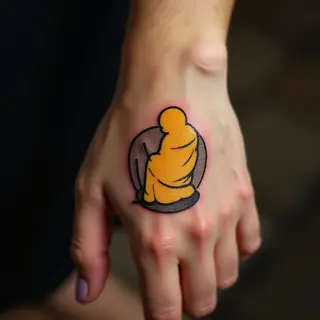
If you're creating tattoo designs with personal meaning or incorporating pride symbolism, it’s crucial to represent identities accurately and respectfully. Do some research on the symbols you use—and if you're unsure about something, reach out to members of the community for guidance.
Exporting Your Design
Finally, save your design as a high-resolution PNG file. This makes it easy to share with your tattoo artist.
