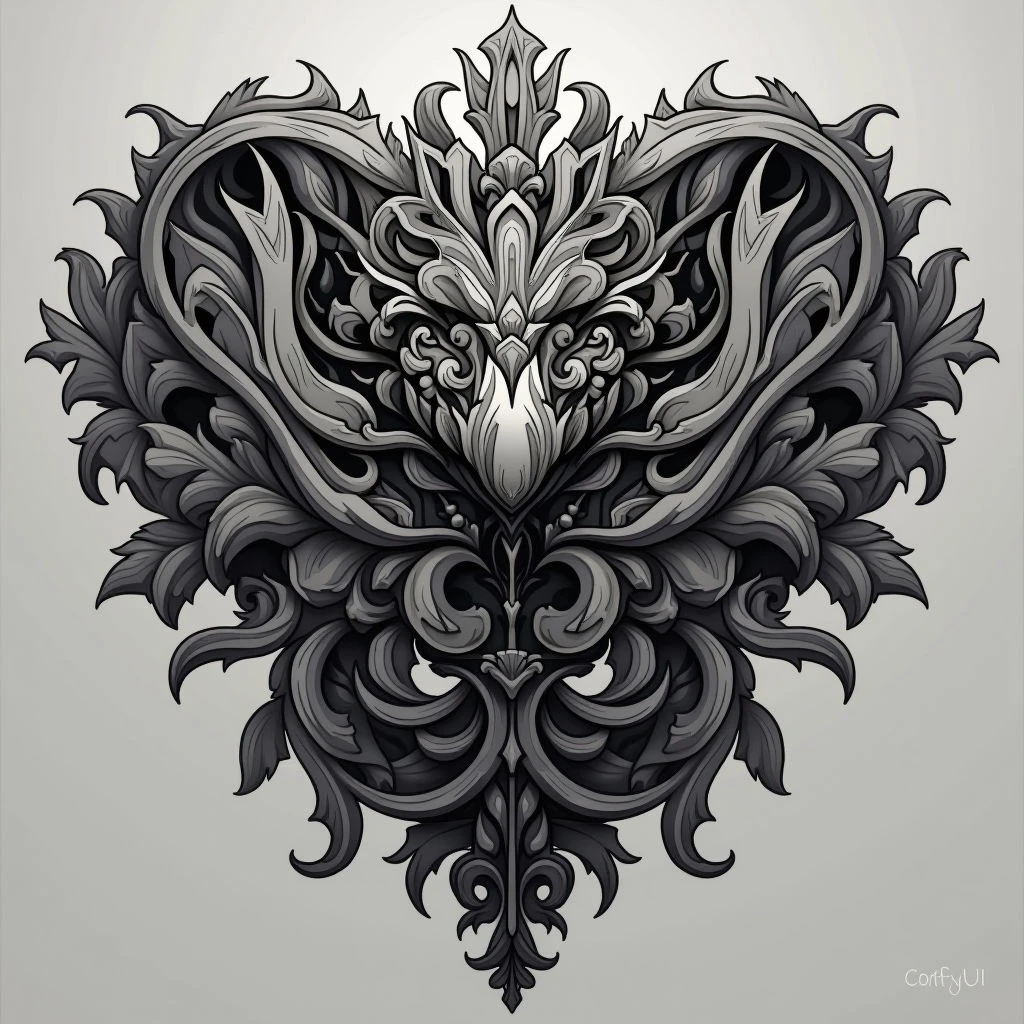
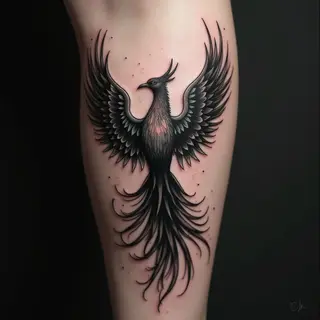
Creating Tattoo Designs with Photoshop
Photoshop provides an incredible space for crafting detailed tattoo designs. This guide walks through the key techniques I've found essential for bringing your artistic ideas to life as wearable art.
Setting Up Your Canvas
Let’s start with the basics: setting up your document. I always begin with a high-resolution canvas—ideally 300 DPI—to guarantee crisp lines and detail when transferring the design. Think about the size of the final tattoo; bigger pieces need larger canvases, naturally.
Sketching & Line Work
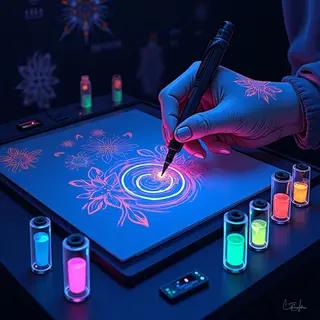
A pressure-sensitive tablet makes sketching feel much more natural. I like to experiment with different brushes that mimic traditional pen and ink styles—it really helps capture the right feel. Building up line weight gradually is key; it’s what gives a tattoo design that professional, polished look. The 'Hard Round' brush, tweaked for size and opacity, is my go-to starting point.
Layer Management
Organization is absolutely crucial. I always separate layers for the initial sketch, linework, shading, and any color elements. This lets me make changes later without messing up other parts of the design—it’s a huge time saver.
Colorization (Optional)
While many tattoo artists work exclusively in blackwork, Photoshop's blending modes can be useful. They allow you to simulate subtle color variations or get a realistic preview of how the design might look with color.
Exporting & Transfer
When it’s time to share your design, save it as a high-resolution PNG file with transparency. This ensures the lines and details are clear when transferring the image to paper or directly to the tattoo artist—accuracy is everything for a good reproduction on skin.
Beyond the Basics
Want to take your designs even further? Explore custom brushes, texture overlays, and more advanced blending techniques. There's a whole world of possibilities!


